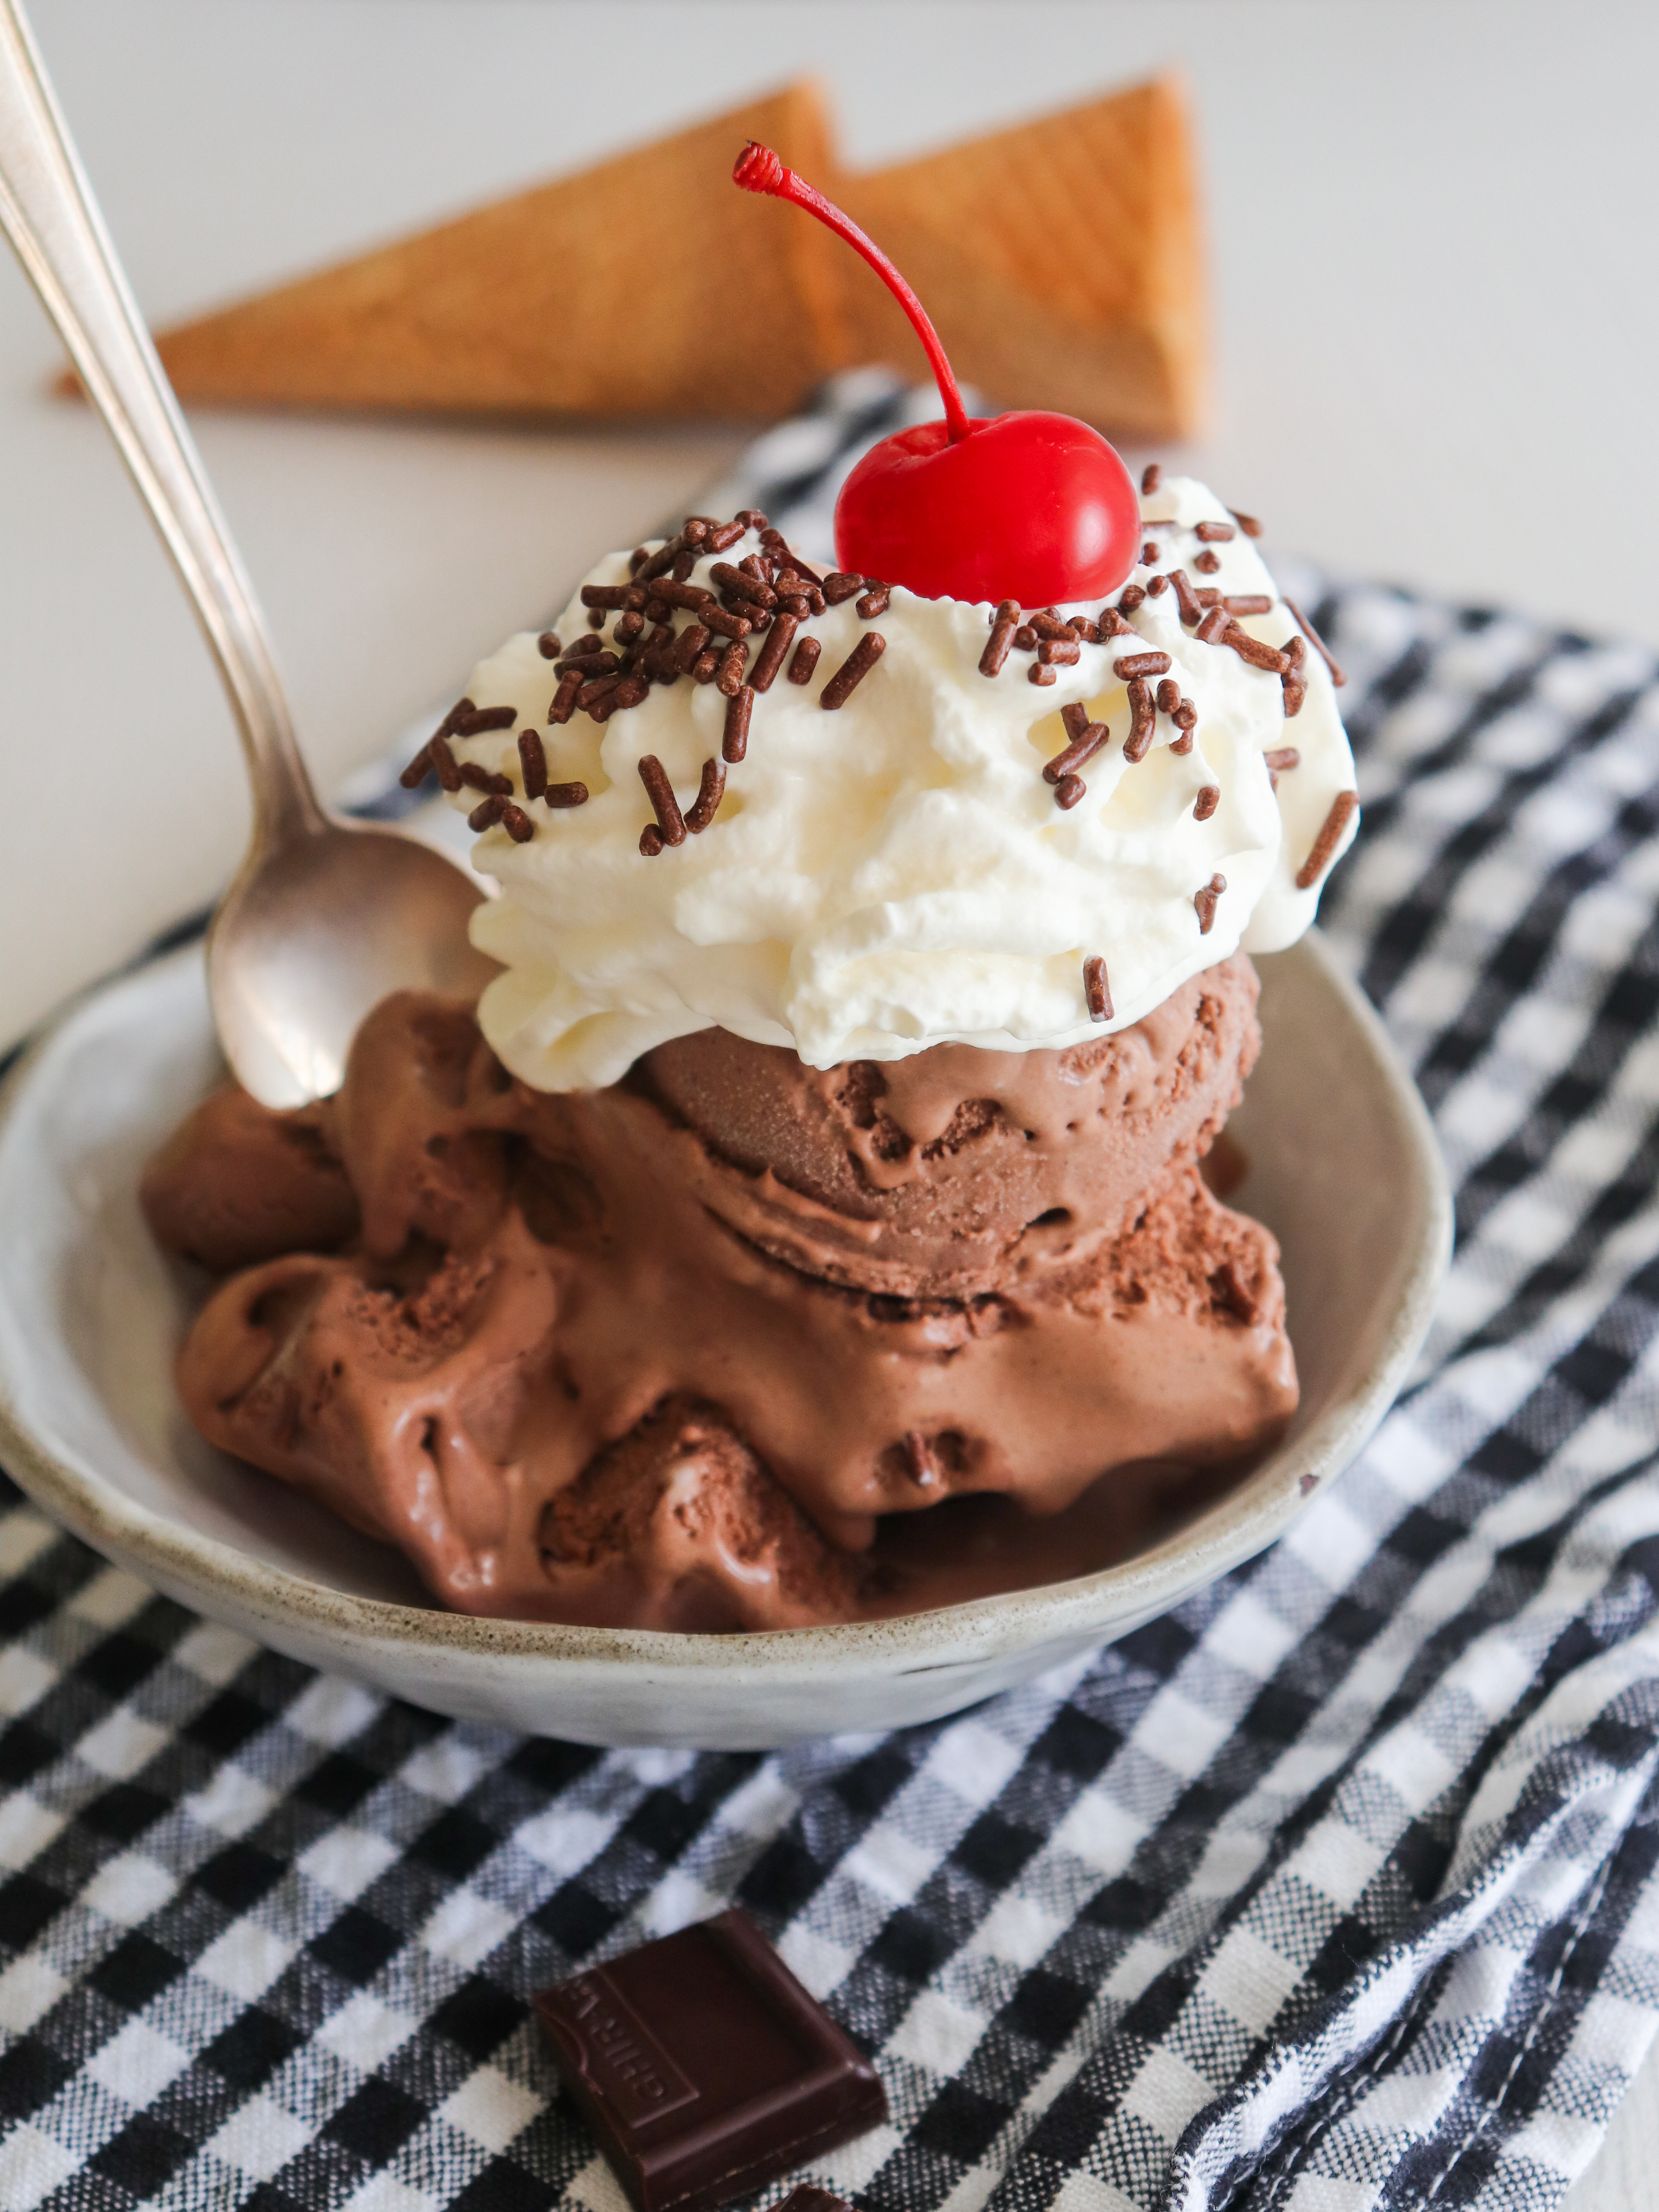
Today, I’m sharing my recipe for homemade chocolate custard-based ice cream. It’s deeply chocolatey, perfectly balanced, and ridiculously smooth.
However, before we get to the recipe, I need to confess something to you about the photos you’re about to scroll past. Because if you think food bloggers live in a world of effortless perfection, I am about to burst that little bubble.
Let’s just say that yesterday’s photo shoot did not go according to plan.
It started innocently enough. I scooped what I thought were three picture-perfect spheres of chocolate ice cream into a small bowl.
What I failed to factor in was the fact that a rich, egg-based custard ice cream melts at roughly the speed of light.
Within ninety seconds, my proud little scoops had transformed into a glossy, pooling, mud-slide disaster. In a panic, I grabbed a spoon, frantically trying to prop the melting ice cream back up while fussing with my tripod. The result? A series of highly dramatic, slightly chaotic action shots of what looked less like a professional food blog and more like a crime scene involving a hot fudge sundae.


I was ready to throw in the towel, scrap the shoot, and eat my feelings straight out the pan containing the remaining chocolate ice cream.
But then, I took a bite. And guys? Oh my goodness. Even in its slumped, slightly chaotic, half-melted state, this chocolate ice cream was an absolute triumph. The flavor was intensely deep, rounded out by a pinch of salt and a splash of vanilla, with a texture so impossibly creamy that I completely forgot about the mess on my kitchen counter.
So, I’m leaning into the chaos. No, these photos aren’t pristine. Yes, the ice cream was melting as I pressed the shutter. But sometimes, the best things in life are a little messy, a little imperfect, and entirely delicious.

Ingredients
This recipe yields precisely one quart (4 cups) of ice cream, which is the standard capacity for most home ice cream makers (like Cuisinart or KitchenAid attachments).
- 1 cup (237 ml) whole milk (do not use skim or 2%; the fat is essential for the structure).
- 2 cups (473 ml) heavy cream
- ¾ cup (150 grams) granulated sugar
- ½ cup (40 grams) Dutch-processed cocoa powder (Dutch-processed yields a smoother, deeper, less bitter chocolate flavor).
- 2 ounces (57 grams) bittersweet or semisweet chocolate (around 60-70% cacao), finely chopped.
- 4 large egg yolks (Save the whites for an omelet or meringue).
- 1 teaspoon pure vanilla extract
- ¼ teaspoon kosher salt (for balancing the sweetness)
Instructions
Before you begin, make sure your ice cream maker’s freezer bowl has been chilling in the freezer for at least 24 hours (or according to your machine’s manufacturer instructions). If the bowl isn’t freezing cold, your base won’t churn properly.
In a medium, heavy-bottomed saucepan, whisk together the whole milk, 1 cup of the heavy cream (reserve the other cup for later), ¼ cup of the sugar, and the cocoa powder. Whisk vigorously until the cocoa powder is fully dissolved and no lumps remain.

Place the saucepan over medium heat, stirring occasionally, until the mixture comes to a gentle simmer (do not let it boil).
Remove the pan from the heat. Add the finely chopped bittersweet chocolate and the salt. Whisk continuously until the chocolate is completely melted and the mixture is glossy and smooth. Stir in the remaining 1 cup of heavy cream and set this warm chocolate mixture aside.

In a separate medium bowl, whisk together the egg yolks and the remaining ½ cup of sugar until pale and slightly thickened (2-3 minutes).
The Tempering Step: To prevent the hot chocolate liquid from instantly scrambling your eggs, you must “temper” them. While whisking the egg yolks constantly, slowly ladle about one cup of the warm chocolate mixture into the eggs in a thin, steady stream.
Pour the warmed egg mixture back into the saucepan with the rest of the chocolate base. Place the pan over medium-low heat.
Stir the mixture constantly using a wooden spoon or heat-resistant spatula, making sure to scrape the bottom and sides of the pan. Cook until the mixture thickens and coats the back of a spoon (it should reach about 170°F–175°F on an instant-read thermometer). When you run your finger across the back of the coated spoon, it should leave a distinct, clear path.


To ensure a completely smooth texture, free of any tiny cooked egg bits, pour the warm custard through a fine-mesh strainer into a clean bowl.
Stir in the vanilla and salt until combined. Place over a large bowl filled with ice. Stir until the custard has cooled down to room temperature, then transfer to a large measuring cup (or something that will make it easy to pour into the ice cream maker).


Press a piece of plastic wrap directly onto the surface of the custard (this prevents a skin from forming). Place the bowl in the refrigerator and chill thoroughly for at least 4 hours, preferably overnight.
Remove your chilled chocolate custard base from the refrigerator and give it a quick stir. Pour it into your pre-frozen ice cream maker and churn according to the manufacturer’s instructions, usually about 15-20 minutes, until it reaches the consistency of soft-serve ice cream.

Transfer the churned ice cream to an airtight, freezer-safe container (a loaf pan with plastic wrap pressed onto the surface and then covered with foil works too). Place the container in the freezer for at least 2 to 4 hours to firm up to a scoopable consistency.

Tips for the Best Chocolate Ice Cream
- Regular natural cocoa powder can be sharp and acidic. Dutch-processed cocoa is washed in an alkaline solution, neutralizing the acidity and providing that rich, dark, bakery-style chocolate flavor.
- Ice cream science relies on fat to prevent hard ice crystals from forming. Stick to whole milk and heavy whipping cream; lighter alternatives will yield an icy, watery result.
- Fold in chopped chocolate chunks, toasted pecans, swirls of peanut butter, or mini marshmallows during the last two minutes of churning for a rocky road variation.
Making chocolate ice cream from scratch is a rewarding project that takes your homemade desserts to a professional level. Once you taste the rich, decadent flavor, you may never look at store-bought the same way again.
So, here is my final verdict on this chocolate ice cream saga: Do not let the pursuit of perfection ruin your dessert. Embrace the melt. Forgive the messy scoops. Lure the dog away with a decoy treat, and just eat the ice cream!