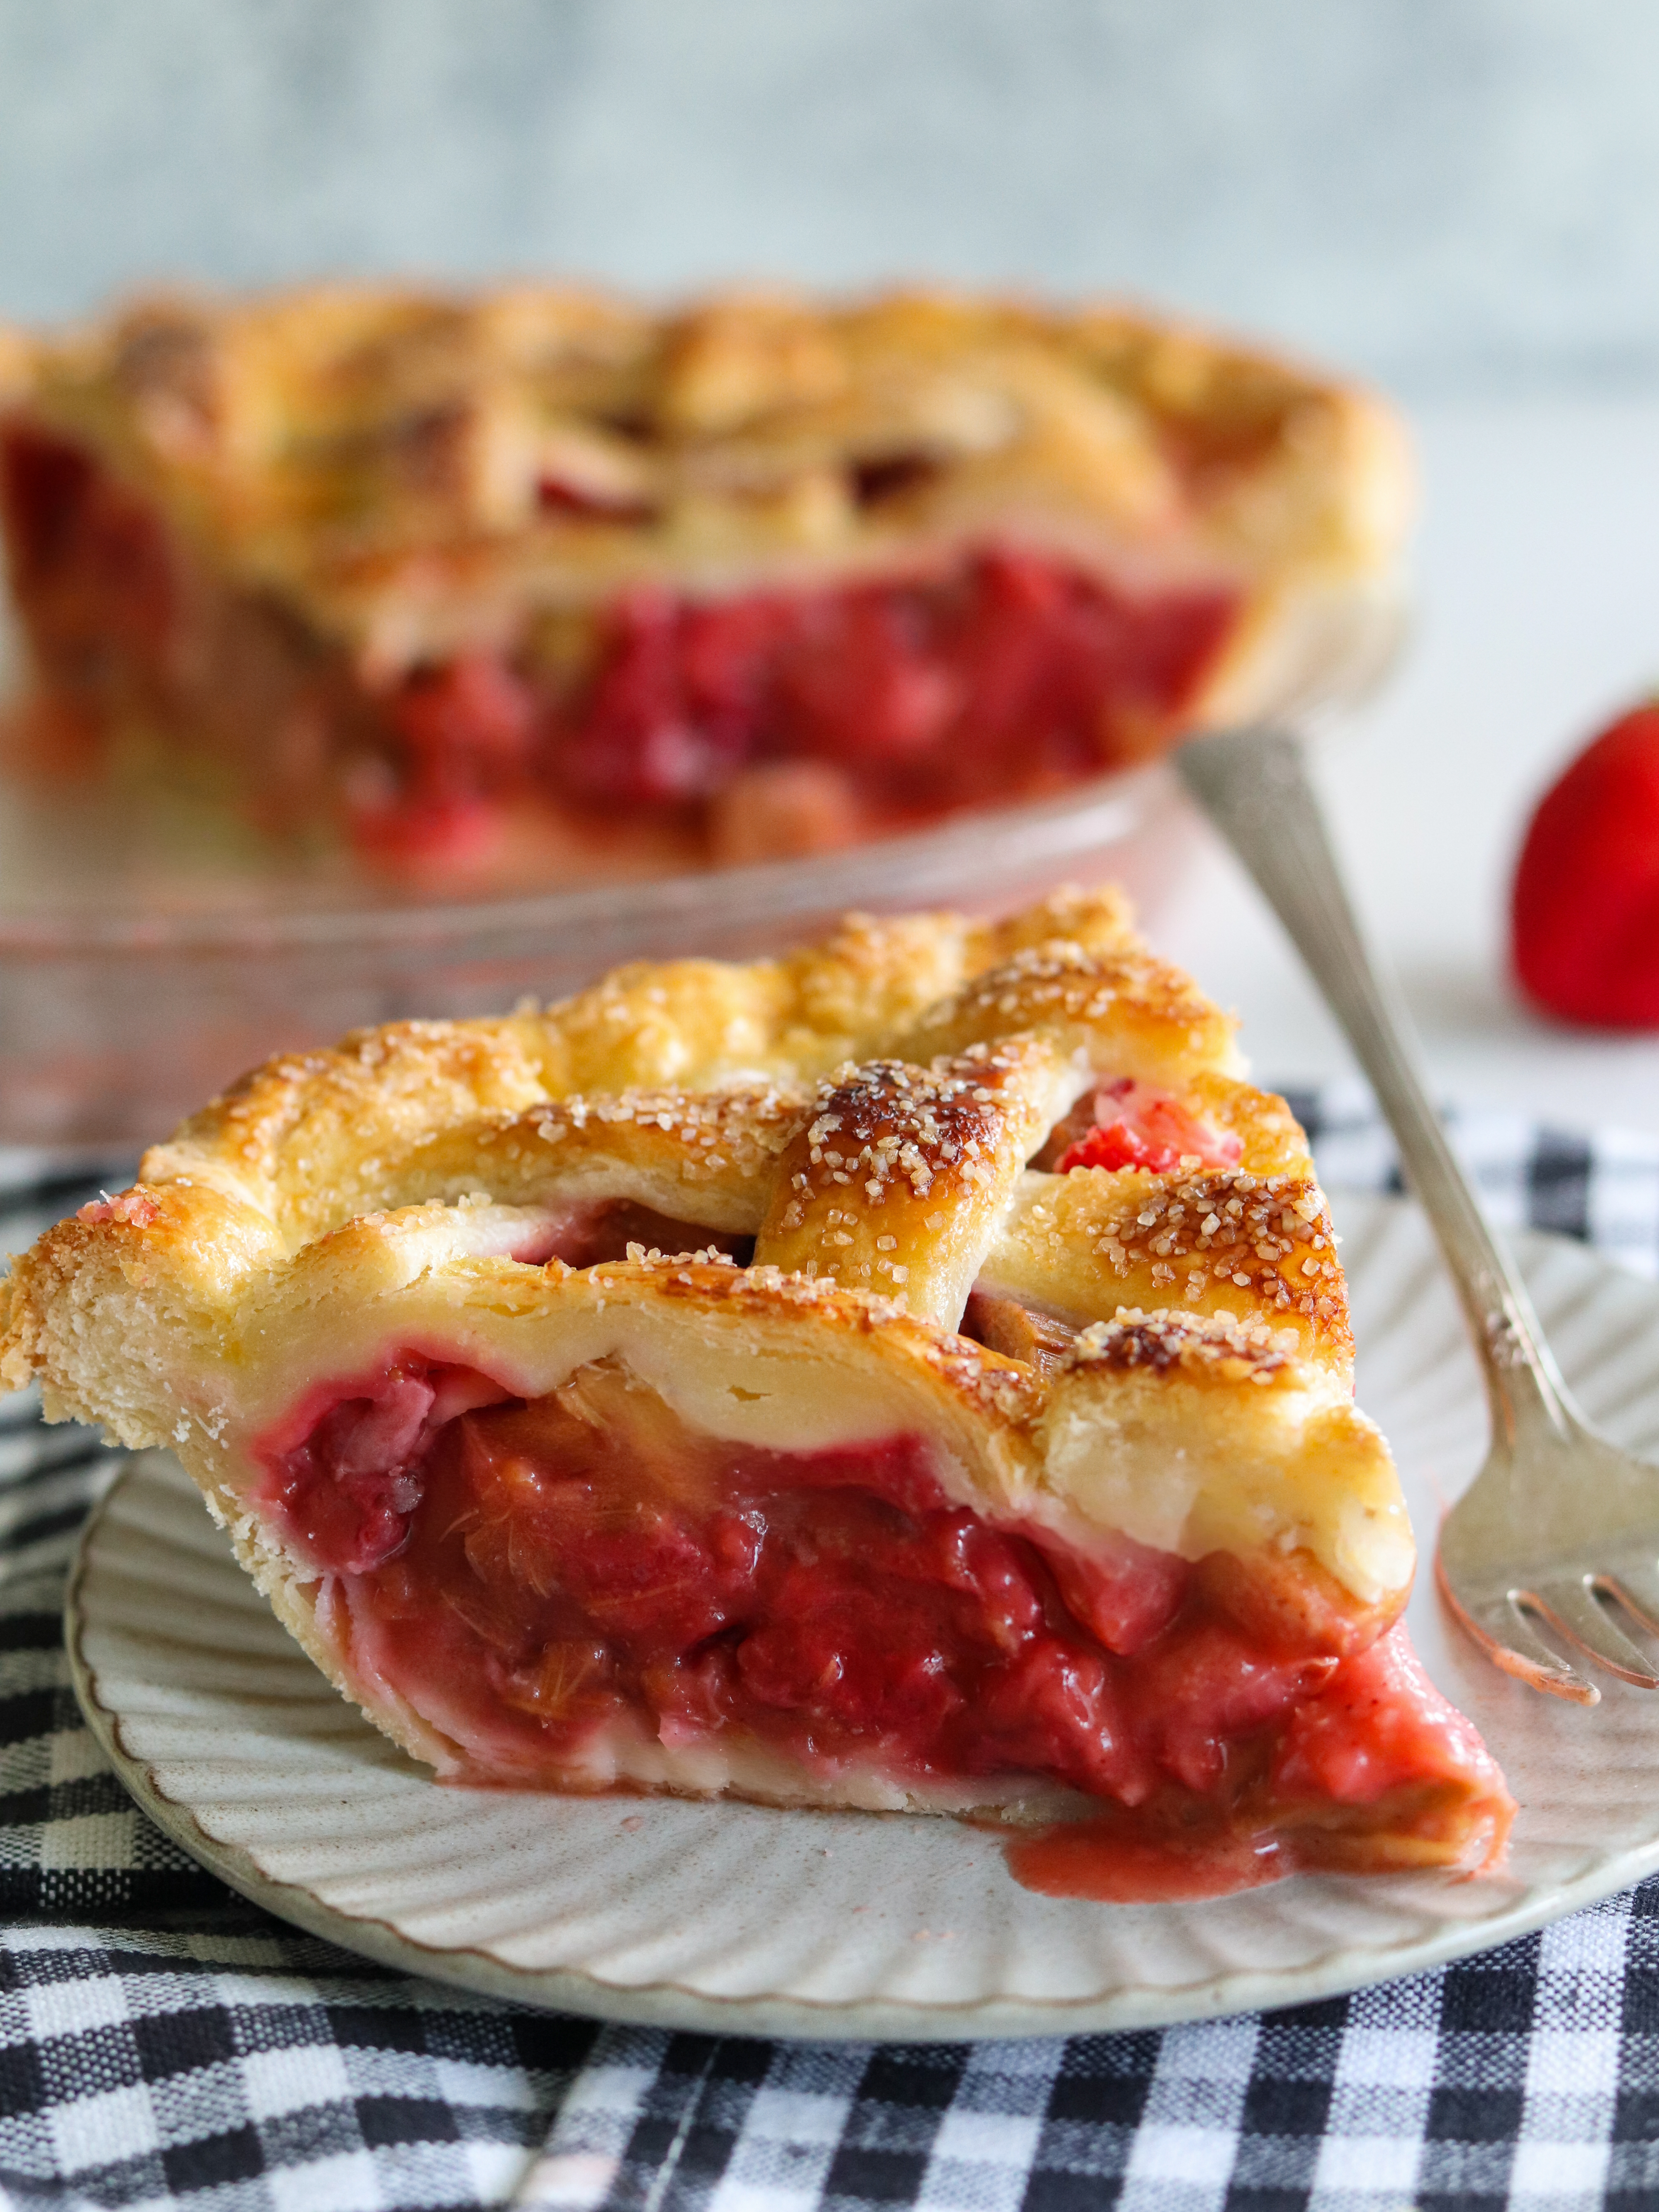
You know how it goes—sometimes it takes a little nudge from your family to get things done.
The other day, my daughter Melissa called me with a very specific request. She asked if I had a strawberry rhubarb pie recipe on my blog. She said she had searched the site up and down, but couldn’t find it anywhere.
Curious, I went back and dug through my old recipe archives. Sure enough, there it was: a classic, tried-and-true strawberry rhubarb pie recipe that I had somehow never actually gotten around to publishing.
Melissa explained that her friend Sue was desperately looking for a strawberry rhubarb pie recipe to bake for her husband. Well, you know me—I couldn’t just throw a draft up without testing and shooting it properly! I told Melissa, “Don’t worry, I’ll have it on the site by the end of the weekend.”
And true to my word, here we are. It’s Sunday night, the house smells faintly of sweet summer berries and buttery pastry, and I’m finally sharing a favorite spring-to-summer bake with all of you.
Baking this pie gave me the perfect excuse to spend my afternoon in the kitchen, flour on the counter, capturing all the step-by-step progression shots you need to make this a total success in your own kitchen. The tart, crisp bite of fresh rhubarb balanced out by the sweet, juicy pop of ripe strawberries bubbling under a golden, flaky crust? Yummm!!
Whether you’re baking to impress a spouse like Melissa’s friend, Sue, or just treating your family to a slice of homemade comfort, this recipe is a keeper. Let’s dive in!
Tips, and Tricks for Success
1. Why is my strawberry rhubarb pie runny?
The number one culprit behind a runny pie is excess moisture. Both strawberries and rhubarb have high water content and can lead to a runny filling. As the pie bakes, that water releases into the filling. If you didn’t use enough thickener, or if the pie wasn’t baked long enough to activate the thickener, the juices won’t set.
The Fix: Make sure you are measuring your thickener correctly (don’t skimp on it!). Also, ensure you bake the pie until the filling is actively bubbling in the center—not just around the edges. This bubbling is essential for activating starches like tapioca, cornstarch, or flour. Finally, let the pie cool completely (at least 3 to 4 hours) before slicing so the juices have time to set up.
Note: (Optional) – When you’re ready to add the filling to the crust and there’s a lot of juice on the bottom of the bowl from your pie filling, the cause can be extra ripe strawberries or the filling sat too long. If this happens, you can use a slotted spoon to put the fruit in the pie crust. Don’t discard the juice; it’s where a lot of the thickening agent and flavor ends up. We don’t want to lose that. Pour all the juicy goodness into a small saucepan and reduce on medium-low heat for 4-6 minutes until it thickens and starts to bubble. Remove from heat and pour onto a small baking sheet or bowl to help it cool quickly while you’re rolling your top crust (whole or lattice). Spoon (or pour) thickened juices over the pie filling, top with lattice (or whole top crust with slits) to release steam. *tip inspired by sallysbakeblog


2. Can I use frozen fruit instead of fresh?
Yes, you can! But there are a few important rules to follow if you want to avoid a swimming pool of fruit juice:
- Do not thaw the fruit completely. Thawing frozen strawberries and rhubarb releases a massive amount of liquid before the pie even hits the oven. Instead, rinse them quickly under cold water just to break up any large clumps, pat them dry with paper towels, and use them while still mostly frozen.
- Increase the thickener. Because frozen fruit tends to release more liquid than fresh, add an extra tablespoon of your thickener of choice to the mix.
- Add a little extra baking time. Since the fruit is cold, your pie will likely need an extra 10 to 15 minutes in the oven.
3. How can I keep the bottom crust from becoming soggy?
A soggy bottom crust is the nemesis of every pie baker. To ensure your pastry stays crisp and flaky:
- Preheat your baking sheet: Place a heavy metal baking sheet in the oven while it preheats. Place your pie directly on the hot baking sheet. The direct, intense heat helps cook the bottom crust faster.
- Bake on a low oven rack (directly below the middle rack): This ensures the bottom crust gets plenty of direct heat from the lower heating element.
- Use a thickener that works well with fruit: Make sure your thickener is trapping the juices so they don’t pool at the bottom of the pie plate.
- Egg wash the bottom crust: Brushing the bottom crust with a light beaten egg white before adding the filling can create a moisture-barrier.
- Sprinkle 1 teaspoon flour/1 teaspoon granulated sugar mixture on bottom crust before adding filling: As the pie bakes, this simple duo teams up with the bubbling fruit juices to create a light, sweet, and perfectly thickened barrier. It absorbs excess moisture, and locks out sogginess.


4. Can this pie be made ahead of time?
Yes! Fruit pies are very make-ahead friendly.
- Baked ahead: You can bake the pie up to 2 days in advance. Let it cool completely, then cover it loosely and store it at room temperature for the first day, or in the refrigerator for up to 2 days. Reheat it in a 350°F (175°C) oven for about 15–20 minutes to re-crisp the crust before serving.
5. Can this pie be frozen?
You can freeze this pie either unbaked or baked, depending on your preference!
- To Freeze Unbaked: Assemble the pie in a freezer-safe pie dish (glass or aluminum work best). Wrap the unbaked pie tightly in multiple layers of plastic wrap and a layer of aluminum foil. Freeze for up to 3 months. When ready to bake, do not thaw. Unwrap the pie, add an egg wash to the crust if desired, and bake straight from the freezer, adding an extra 15–20 minutes to the total bake time.
To Freeze Baked: Bake the pie fully and let it cool completely. Wrap it tightly in plastic wrap and foil, and freeze for up to 3 months. To serve, thaw overnight in the refrigerator, then warm in a 350°F oven until heated through and the crust is crisp again.
Ingredients
For the Crust & Finish:
- 9-inch pie crust (double crust recipe: bottom and top) homemade or store-bought
- 1 large egg yolk (beaten, for the egg wash)
- 1 tablespoon milk or heavy cream
- 1 tablespoon granulated or Demerara sugar (for that bakery-style crunchy top)
For the Strawberry Rhubarb Filling:
- 3 cups (366g) rhubarb, washed and chopped into ½-inch pieces
- 2½ cups (375g) strawberries, washed, hulled, and cut into pieces roughly the same size as the rhubarb
- 1 cup (200g) granulated sugar
- ½ teaspoon kosher salt
- 2 tablespoons (16g) quick cooking tapioca granules
- ½ cup (66g) tapioca flour
- zest of 1 medium lemon, about 1 tablespoon (or orange zest for a slightly warmer citrus note)
- ½ teaspoon ground cinnamon (tip: You can swap this for ground ginger or cardamom if you want a fun, spiced twist!)
- 2 tablespoons unsalted butter, cut into small cubes (to dot over the filling before putting the top crust on)
Instructions
1. Preheat your oven to 400°F (220°C). Place rack near the bottom of the oven. Baking on a lower rack so the crust cooks through and gets golden. Place a heavy metal baking sheet in the oven while it preheats (to catch any potential bubble-over juices).
2. Roll out half of your double-crust pie dough on a lightly floured surface. Gently fit it into a standard 9-inch pie plate, trimming the edges so they hang over by about ½ inch. Place the pie plate in the refrigerator to chill while you prepare the filling.
3. In a large mixing bowl, combine the chopped rhubarb, sliced strawberries, granulated sugar, kosher salt, quick cooking tapioca granules, lemon zest, and cinnamon (cardamom or ginger). Toss everything gently until the fruit is evenly coated.


4. Remove your bottom pie crust from the fridge. Spoon the strawberry-rhubarb filling into the crust. Dot the top of the fruit mixture with the 2 tablespoons of small butter cubes. This adds richness and depth to the bubbling juices. Place in the refrigerator while preparing your top crust. See Note↑


5. Roll and place your second pie dough over the top of the filling.
If using a solid crust: Cut 4 to 5 slits in the top to allow steam to escape during baking.
If using a lattice crust: Weave the strips over and under each other. (see instructions↓)
6. Trim the top and bottom crust edges so they extend just past the rim of the pie plate. Fold the top crust under the bottom crust edge, then crimp or flute the edges together securely.
7. In a small bowl, whisk together the beaten egg and 1 tablespoon of milk or cream. Using a pastry brush, lightly brush the top crust and crimped edges with the egg wash. Generously sprinkle the 1 tablespoon of granulated or Demerara sugar over the top. (Demerara sugar adds an irresistible crunch and sparkle!)


8. Put pie in the freezer for 10 minutes, or in the refrigerator for 20-30 minutes. This allows the butter to re-solidify. You don’t want to skip this step.
9. Place your pie on baking sheet that has been heating in the oven.
10. Bake at 400°F for 20 minutes.
11. Reduce the oven temperature to 375°F (190°C) without opening the door, and bake for an additional 35 to 45 minutes, or until the crust is a deep golden brown and the fruit juices are bubbling thickly through the vents. (Note: If the crust edges start browning too quickly during the bake, loosely cover just the edges with aluminum foil or pie crust shield.)
12. Remove the pie from the oven and transfer it to a wire rack. Let the pie cool completely at room temperature for at least 3 to 4 hours (or overnight).
As tempting as it is to slice into a warm pie, cutting it too soon will result in a runny mess. Cooling allows your thickening agent to fully set the fruit juices, ensuring clean, beautiful slices every single time.


Instructions For Lattice Crust:
Prep Your Pie Base
Roll out your bottom pie crust and fit it gently into your 9-inch pie dish. Trim the overhang so it’s about ½ inch past the rim of the plate. Fill your pie with your prepared fruit filling and refrigerate while you prepare the top crust.

Roll Out the Top Crust
Roll out your second disk of pie dough on a lightly floured surface into a circle roughly 12 inches in diameter (about ⅛-inch thick).
Cut the Strips
Using your pizza cutter and a ruler (if you want precision), cut the dough into even strips.
- Width: Aim for strips that are about 1-inch wide.
- Length: Make sure your longest strips span all the way across the center of your pie dish. (You can use the shorter strips near the edges of the circle).


Lay Down the First Set of Strips
Transfer your cut strips to the top of the filled pie.
- Lay the longest strip directly across the center of the pie.
- Lay parallel strips out to the left and right of the center strip, leaving a small, even gap (about ½ inch) between each one.
The “Fold-Back” Technique (The Secret to Easy Weaving)
Instead of weaving piece by piece from scratch, use the fold-back method to make it foolproof:
- Fold every alternate strip (e.g., the 2nd, 4th, and 6th strips) halfway back toward the center.
- Lay one long strip perpendicular (crosswise) right up against the fold.
- Unfold the folded strips back down over the new crosswise strip.

Repeat and Reverse
- Now, fold back the opposite set of strips (the 1st, 3rd and 5th strips) halfway back.
- Lay down your next parallel crosswise strip right next to the first one.
- Unfold the strips back down.
- Repeat this process—alternating which strips you fold back—until you reach the other side of the pie.


Don’t worry if it’s not totally symmetrical right away; rustic charm is half the beauty of a homemade pie!
Trim and Crimp the Edges
Once your weave is complete, use scissors or knife to trim the excess ends of the lattice strips so they line up evenly with the edge of the bottom crust.
Fold the overhang of the bottom crust up and over the ends of the lattice strips. Crimp, flute, or press the edges together using your fingers or the tines of a fork to seal everything tightly.


The Finishing Touches
To get that gorgeous, glossy bakery finish:
- The Wash: Lightly brush the pastry with an egg wash (one beaten egg mixed with a splash of milk or water) or heavy cream.
- The Sparkle: Sprinkle the crust generously with coarse sparkling sugar or granulated sugar for extra crunch and sweetness.
How to Serve Strawberry Rhubarb Pie
Serve this magnificent pie at room temperature or slightly warmed. It is an absolute match made in heaven when paired with:
- A generous scoop of vanilla bean ice cream
- A dollop of freshly whipped cream
- A dusting of powdered sugar just before serving
Storage & Make-Ahead Tips
- Storage: Cover leftovers loosely with plastic wrap and store at room temperature for up to 2 days, or in the refrigerator for up to 4 days.
- Make-Ahead: You can prep the pie crust in advance and freeze it, or assemble the entire unbaked pie, wrap it tightly, and freeze it for up to 2 months. Bake straight from frozen, adding an extra 15–20 minutes to the initial bake time.
Did you bake this recipe? Let me know how it turned out in the comments below, and don’t forget to tag your beautiful pie creations on social media!