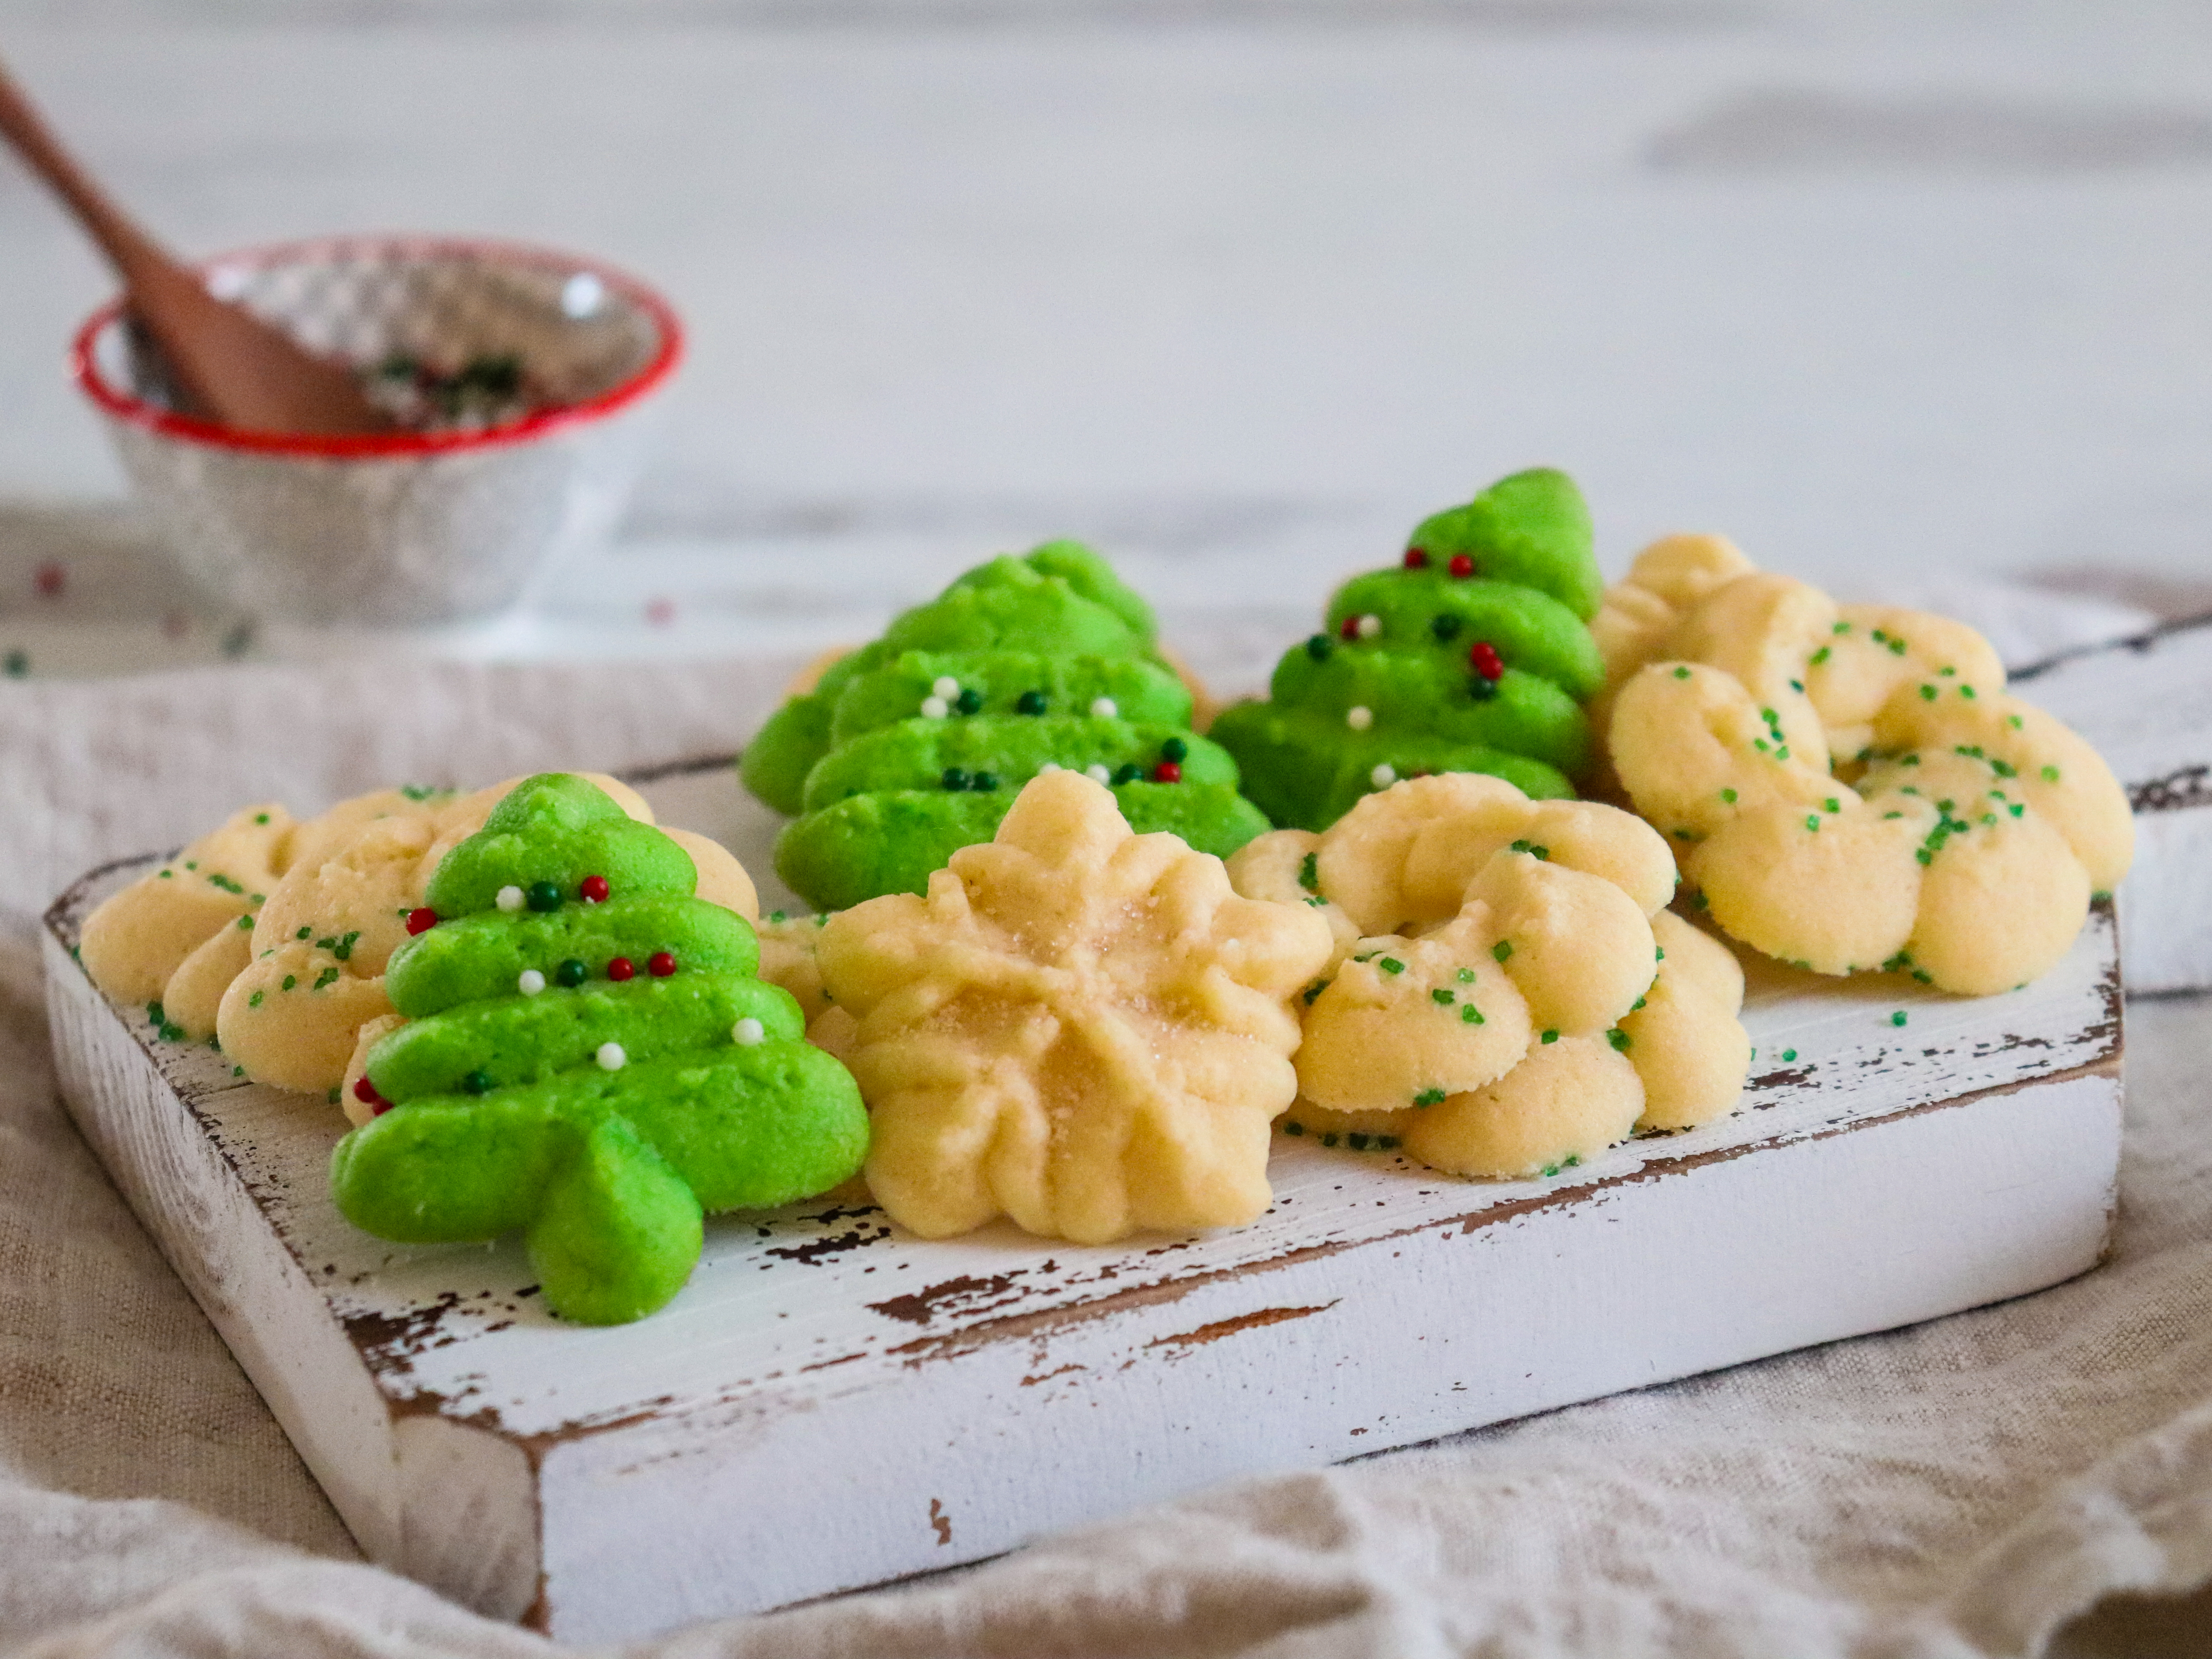
Classic spritz cookies hold a special place in the heart of many cookie enthusiasts, combining nostalgia with a touch of elegance. These delightful treats are not only a feast for the taste buds but also a visual delight, thanks to their beautifully crafted shapes made possible by a charming handheld cookie press. Each batch is an opportunity for creative expression, as the dough can be tinted with vibrant food gel or adorned with colorful sprinkles, transforming simple cookies into eye-catching confections. Their buttery, crispy texture makes them a perennial favorite, whether served at family gatherings, festive church functions, or simply enjoyed with a cup of tea. With their versatility and appeal, spritz cookies are perfect for sharing with loved ones, adding a special touch to any occasion.
Ingredients:
- 1 cup (226 grams) unsalted butter, room temperature
- 3/4 cup (150 grams) granulated sugar
- 1 large egg
- 1 ½ tsp vanilla extract
- ½ teaspoon almond extract
- 2½ cups (300 grams) all purpose flour
- ¼ teaspoon kosher salt
- Red gel icing color, optional
- Green gel icing color, optional
- Sprinkles
Instructions:
- Preheat oven to 350°F (180°C). Line baking sheets with silicone baking mats or leave them without any lining. I don’t recommend parchment paper with these cookies. You want the cookie dough to stick to the surface you press them onto and parchment paper is non-stick. Set cookie sheets aside.
- Cream the butter and sugar together in a large mixing bowl on medium speed until light in color and fluffy, about 3-4 minutes. You should be able to see the mixture lighten in color and get a creamy texture and know it’s ready.
- Add the egg and mix until well combined.
- Add the vanilla extract and almond extract and mix until well combined.
- Add the flour and salt and mix until the dough is combined, then remove the bowl from the mixer and finish combining with a rubber spatula, if needed. Do not over mix.
- If coloring some of the cookie dough, divide it into parts. I used white and green, so I divided it evenly into two parts.
- Use the gel icing color to color the dough. Add small amounts to begin with, then add more as needed. You can always add additional color, but can’t remove it if you add too much. Adding too much liquid will thin out your cookie dough a bit.
- Add one of the colors of cookie dough to your cookie press and follow the directions for your press to set it up. Hold the cookie press perpendicular to your cookie sheet and press out the cookies. They can be fairly close together since they don’t really spread.
- Decorate the cookies with sprinkles, if desired.
- Bake cookies for 8-10 minutes. I prefer them a little crunchy, so I went with 10 minutes, but feel free to decrease the time and adjust based on your oven and need.
- Remove from the oven and allow to cool on baking sheets for 4-5 minutes before transferring to a wire rack to cool completely.
- Store cookies in an air tight container for up to about 1 week. Enjoy!


I hope you make this classic holiday cookie, and if you do, please tag me on Instagram @goodeatsbymimi. I would love to hear from you and see your photos!