Oh, sourdough focaccia. Just the words conjure images of a golden, dimpled crust, glistening with olive oil, a crumb so airy and chewy it practically melts in your mouth. It’s a bread that embodies comfort and rustic elegance. But what if I told you there’s a simple, yet profoundly transformative technique that can elevate your sourdough focaccia from simply delicious to absolutely transcendent? Enter cold fermentation.
This isn’t just about convenience (though it offers plenty of that!). Cold fermentation is the secret weapon that unleashes an unparalleled depth of flavor and an ethereal texture in your focaccia. It’s time to unlock its magic.
Why Cold Fermentation is Your Focaccia’s Best Friend
Before we dive into the recipe, let’s understand why chilling your dough is a game-changer:
- Flavor Development: This is the big one. The slow, cold environment gives your sourdough starter’s wild yeasts and bacteria more time to work their magic, breaking down starches and proteins. This creates a complex, nuanced flavor profile that’s impossible to achieve with a quick room-temperature ferment. Think subtle tangy notes, earthy undertones, and a richness that sings.
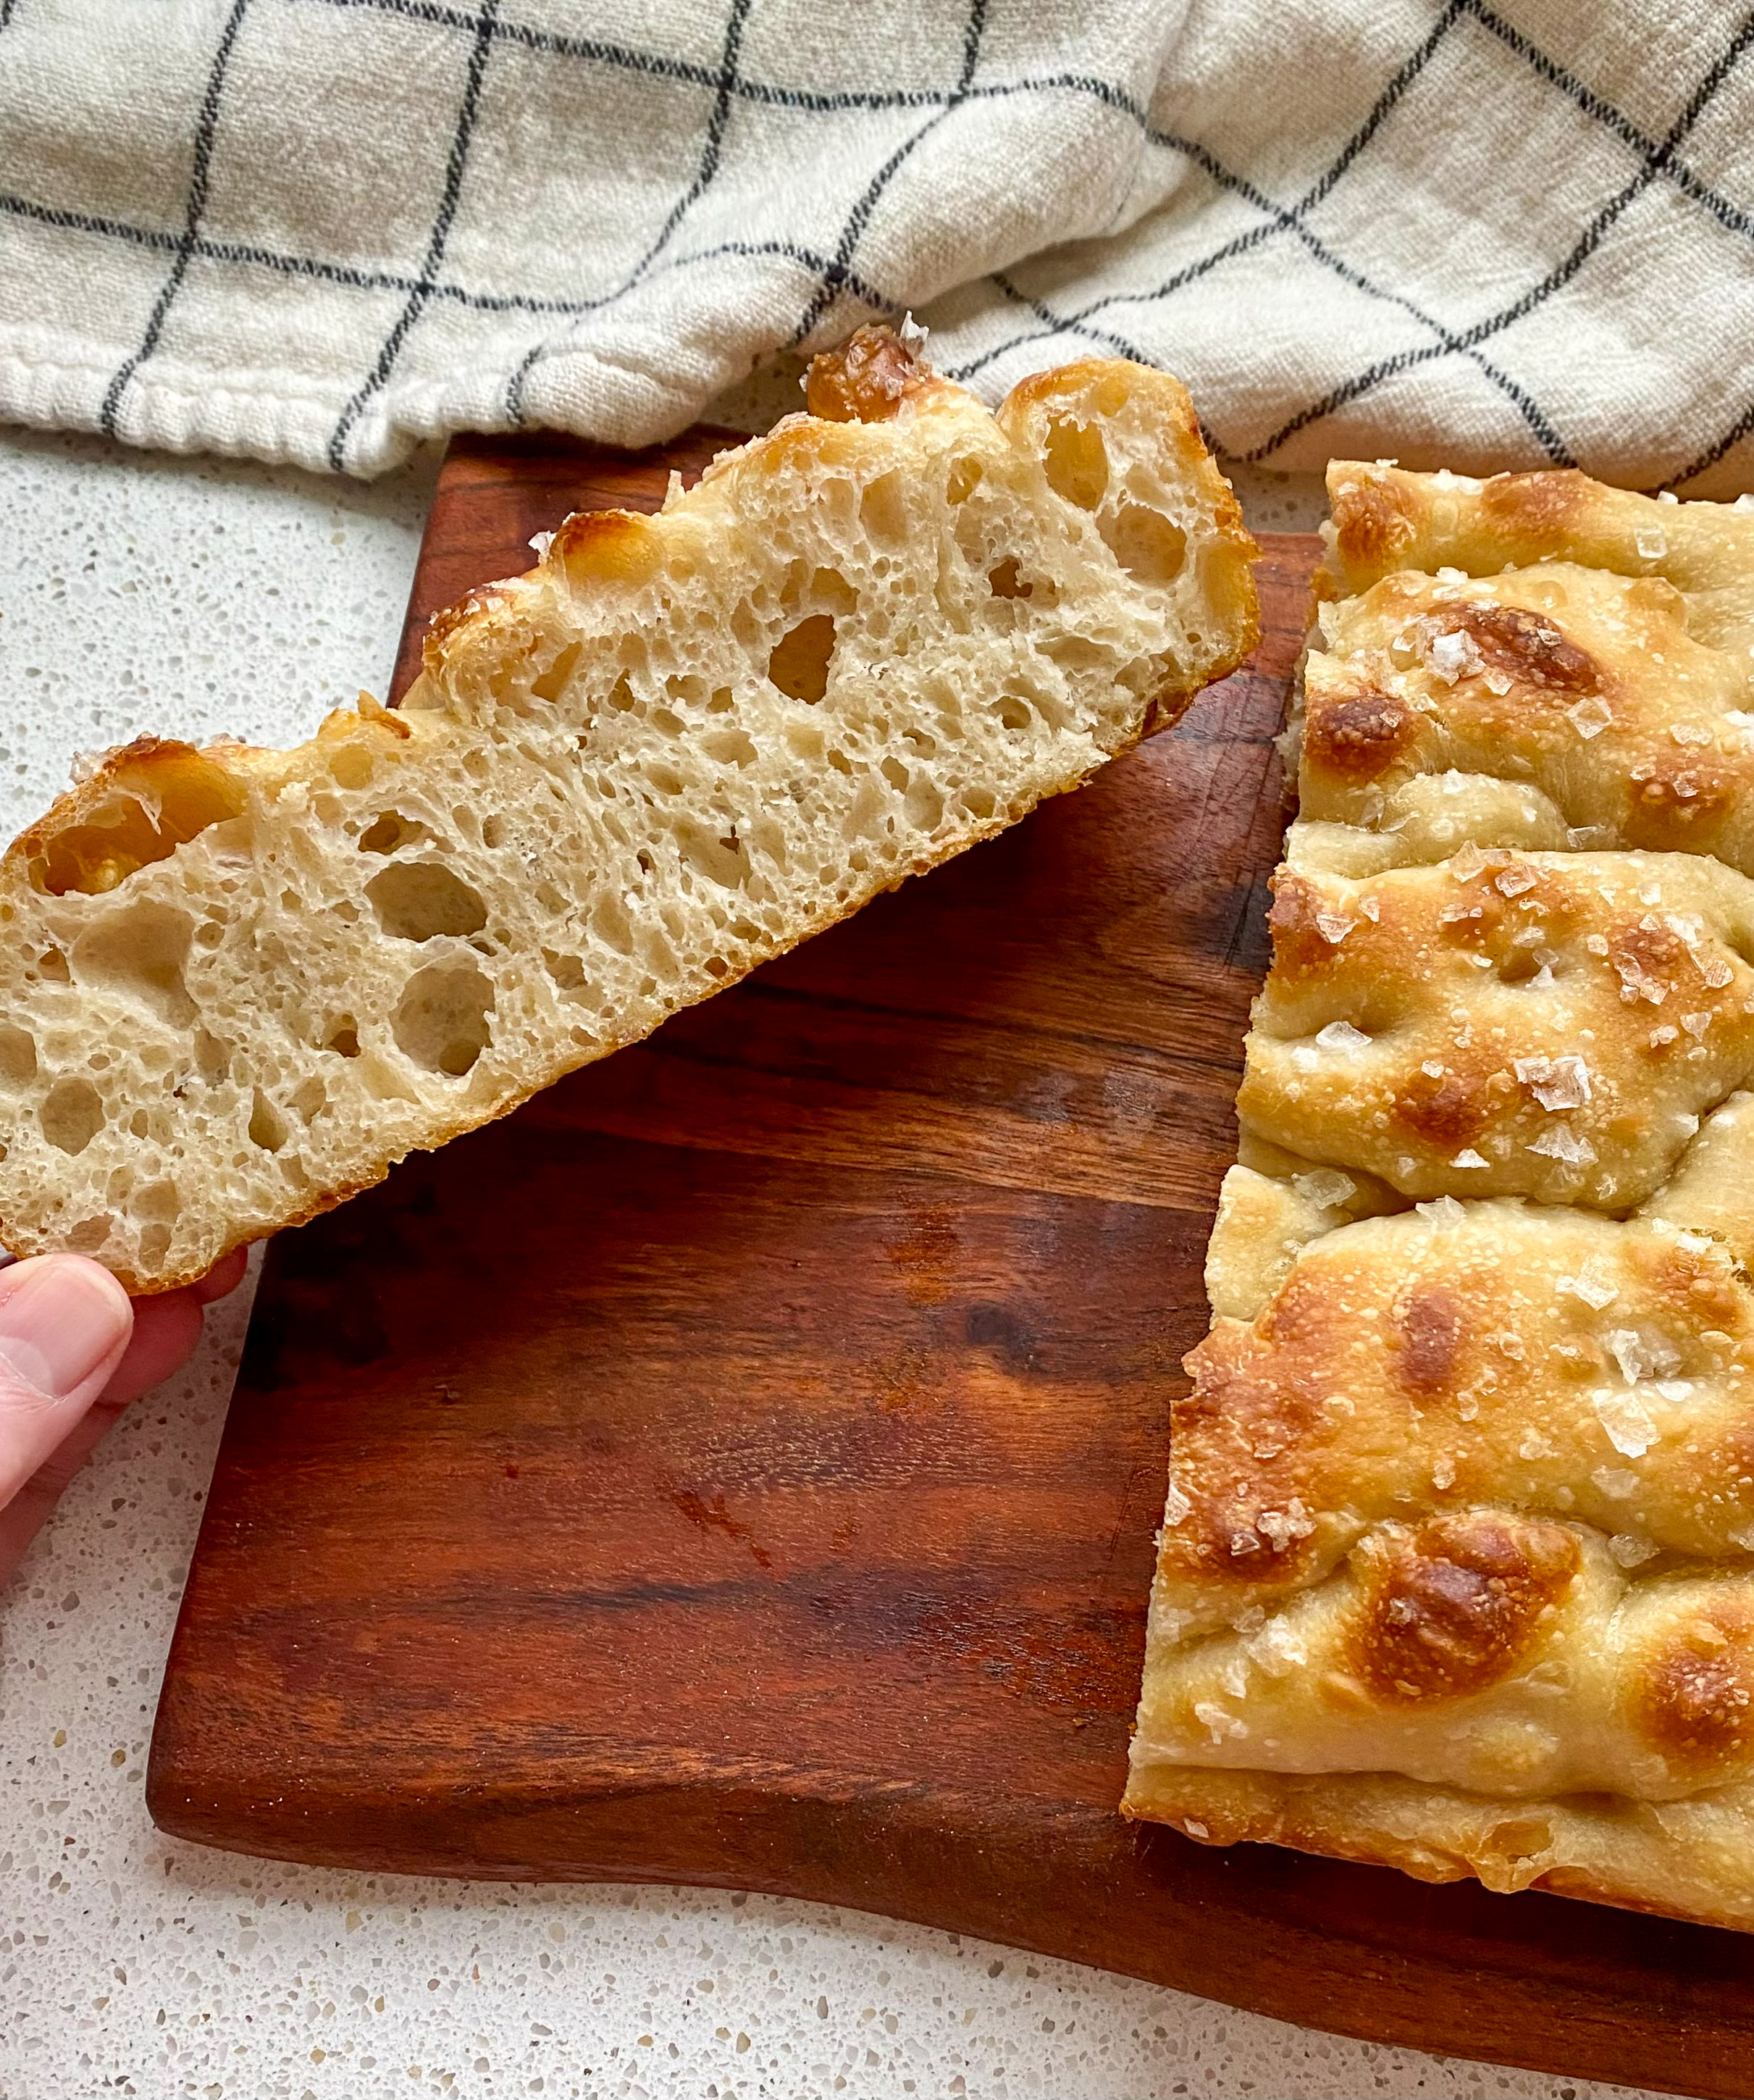
- Superior Texture: The extended cold proof allows the gluten network to relax and strengthen over time. The result? A focaccia with an incredibly open, airy crumb, large irregular holes (the kind you see in artisan breads), and that signature chewiness we all crave.
- Convenience & Flexibility: This is a lifesaver for busy bakers. You can mix your dough one day and bake it the next (or even the day after!). It allows you to fit baking into your schedule, rather than being dictated by the dough’s rapid rise.
- Better Dough Handling: Cold dough is firmer and less sticky, making it easier to dimple, and work with without over-degassing those precious air pockets. This recipe is designed to leverage the power of cold fermentation, ensuring every ingredient plays a crucial role in the final masterpiece.


Ingredients:
- Warm Water: 350 grams (Approx. 1 ½ cups) – Aim for 80–90°F (27–32°C). This initial warmth helps kickstart your starter’s activity before the chill.
- Kosher Salt: 12 grams (Approx. 1 ¾ tsp) – Do not skimp here. Salt is crucial for flavor development, controlling fermentation, and strengthening your gluten network.
- Active Sourdough Starter: 100 grams (Approx. ½ cup) – Your starter must be recently fed and at its peak vigor (bubbly, smells pleasantly acidic, passes the float test). This is non-negotiable for a lively, airy focaccia. see photos and video
- Bread Flour: 400 grams (Approx. 3 cups) – High protein content is paramount. It provides the strength and elasticity needed to trap those beautiful airy pockets and withstand the extended fermentation.


The Cold Ferment Process: Step-by-Step
Day 1: Mix, Initial Ferment & Chill
- In a large mixing bowl, combine the warm water and kosher salt. Stir until the salt is fully dissolved.
- Add your active sourdough starter to the water and salt mixture. Whisk gently until it’s mostly dispersed.
- Add all of the bread flour to the bowl. Use a Danish dough whisk or a sturdy spatula to mix until just combined and no dry flour remains. It will be a shaggy, sticky dough.
- Cover the bowl with a damp cloth or plastic wrap and let it rest at room temperature for 30 minutes. This allows the flour to fully hydrate and gluten development to begin naturally.
- Over the next 2-3 hours, perform 3-4 sets of stretch and folds (I like to do 2 stretch and folds and 2 coil folds) every 30-45 minutes. This gently builds gluten strength. *Please see step-by-step instructions and videos
- After each set, cover the bowl and let the dough rest. You’ll notice the dough becoming smoother and more elastic with each set.
- After your final set of folds, generously coat a 10 inch (or similarly sized, for a thicker focaccia) baking pan with butter and olive oil. Place the dough in the pan on top of the butter and oil. Do not skimp on the butter and oil – it contributes to the crispy crust. Cover with plastic or place in a plastic bag. Put it in the refrigerator for 12 to 48 hours. The longer it chills, the more complex the flavor will be!


Stretch and Fold:
- Wet Your Hands: Lightly dampen your hands with water. This prevents the sticky dough from adhering to you.
- Grab an Edge: Reach into the bowl and grab a section of the dough closest to you.
- Stretch Upwards: Gently lift the dough, stretching it upwards as far as it will comfortably go without tearing. You’re aiming for resistance but not rupture.
- Fold Over: Fold the stretched dough over itself, towards the opposite side of the bowl.
- Rotate: Rotate your bowl about a quarter turn.
- Repeat: Repeat steps 2-5 three more times, working your way around the bowl until you’ve completed a full “set” (usually 4 folds).
- Rest: Cover your bowl and let the dough rest for 30-45 minutes (or as specified in your recipe) before the next set.
Coil Fold:
- Position Your Hands: Slide both wet hands underneath the middle section of the dough. You want to get as much of your hands under there as possible, as if you’re scooping it up.
- Gently Lift: Slowly and gently lift the dough upwards. As you lift, gravity will do its work, and the edges of the dough will start to fall and coil underneath the lifted center. It will look like it’s folding itself in half or thirds.
- Tuck & Release: Once the dough has coiled onto itself, gently lower and tuck the lifted portion back down into the container. The goal is to create tension and a taut surface on top.
- Rotate & Repeat: Rotate your container 90 degrees and repeat the process. Lift from the new middle section, let it coil, and gently lower.
- Do All Sides: Typically, you’ll want to perform 2-4 coil folds per “set,” rotating the dough each time to ensure even strength development across all sides.
- Rest: Cover your dough and let it rest until your next scheduled fold (usually 30-60 minutes), allowing the gluten to relax and gas to build again.
Day 2: Warm Up, Dimple & Bake
- Remove the dough from the refrigerator 2-4 hours before you plan to bake. Let it sit at room temperature, still covered, to slowly warm up. This is crucial for the yeast to reactivate and for the dough to become pliable.
- Add a little more olive oil on top of the dough. Using your fingertips, gently poke some holes into the bread.
- Cover the pan loosely with plastic wrap or a clean kitchen towel and let the dough proof at room temperature for another 2-3 hours. It should look noticeably puffy and alive. This is going to depend on the temperature of the room.
- About 30-45 minutes before baking, preheat your oven to 425-450°F (218-232°C). If you have a baking steel or stone, place it in the oven during preheating for an even crispier bottom crust (this is optional).
- Drizzle a generous amount of good quality olive oil over the dough. With well-oiled fingers, gently but firmly press deep indentations all over the surface of the dough, taking care not to puncture through to the bottom. Add your desired toppings now – flaky sea salt, fresh rosemary sprigs, cherry tomatoes, olives, garlic slices, dried herbs, etc.
- Carefully transfer the pan to the preheated oven. Bake for 20-30 minutes, or until the focaccia is beautifully golden brown on top and deeply golden on the bottom.
- Once baked, immediately transfer the focaccia from the pan to a wire rack to cool for at least 15-20 minutes before slicing. This prevents a soggy bottom and allows the crumb to set.


Pro Tips for Cold Fermentation Success
- Know Your Starter: A strong, active starter is paramount. If your starter is sluggish, your cold ferment will be too.
- Don’t Rush the Warm-Up: Giving the dough ample time to come back to room temperature after its cold nap is probably the most critical step after the initial chilling. It needs to reactivate and relax.
- Listen to Your Dough: Look for visual cues – bubbles, a jiggly texture, and a noticeable increase in volume during the final proof.
- Embrace the Oil: Olive oil isn’t just for flavor; it prevents sticking and contributes significantly to the delicious crispy crust.
- Experiment with Time: Start with 12-24 hours of cold ferment, then push to 36 or 48 hours on your next batch to discover your preferred flavor intensity.
The patience you invest in cold fermentation will be repaid tenfold in every delicious, aromatic bite of your sourdough focaccia. Get ready for a revelation in texture and a symphony of flavors that will make this your new go-to recipe.
Happy Baking!
One response to “Cold Fermentation Sourdough Focaccia Bread”
[…] a few toasted pumpkin seeds, or a fresh sage leaf (or both). We love to have ours with my homemade sourdough focaccia…just saying […]