Capture the Season: An Easy, Elegant Late Summer Plum Cake
There’s a certain magic to late summer. The light turns golden, the air develops a crisp edge, and the markets are overflowing with the season’s final, most generous offerings. Among them, the humble plum takes center stage. Deep purple, blushing red, and sunny yellow plums are begging to be baked into something wonderful before autumn fully arrives.
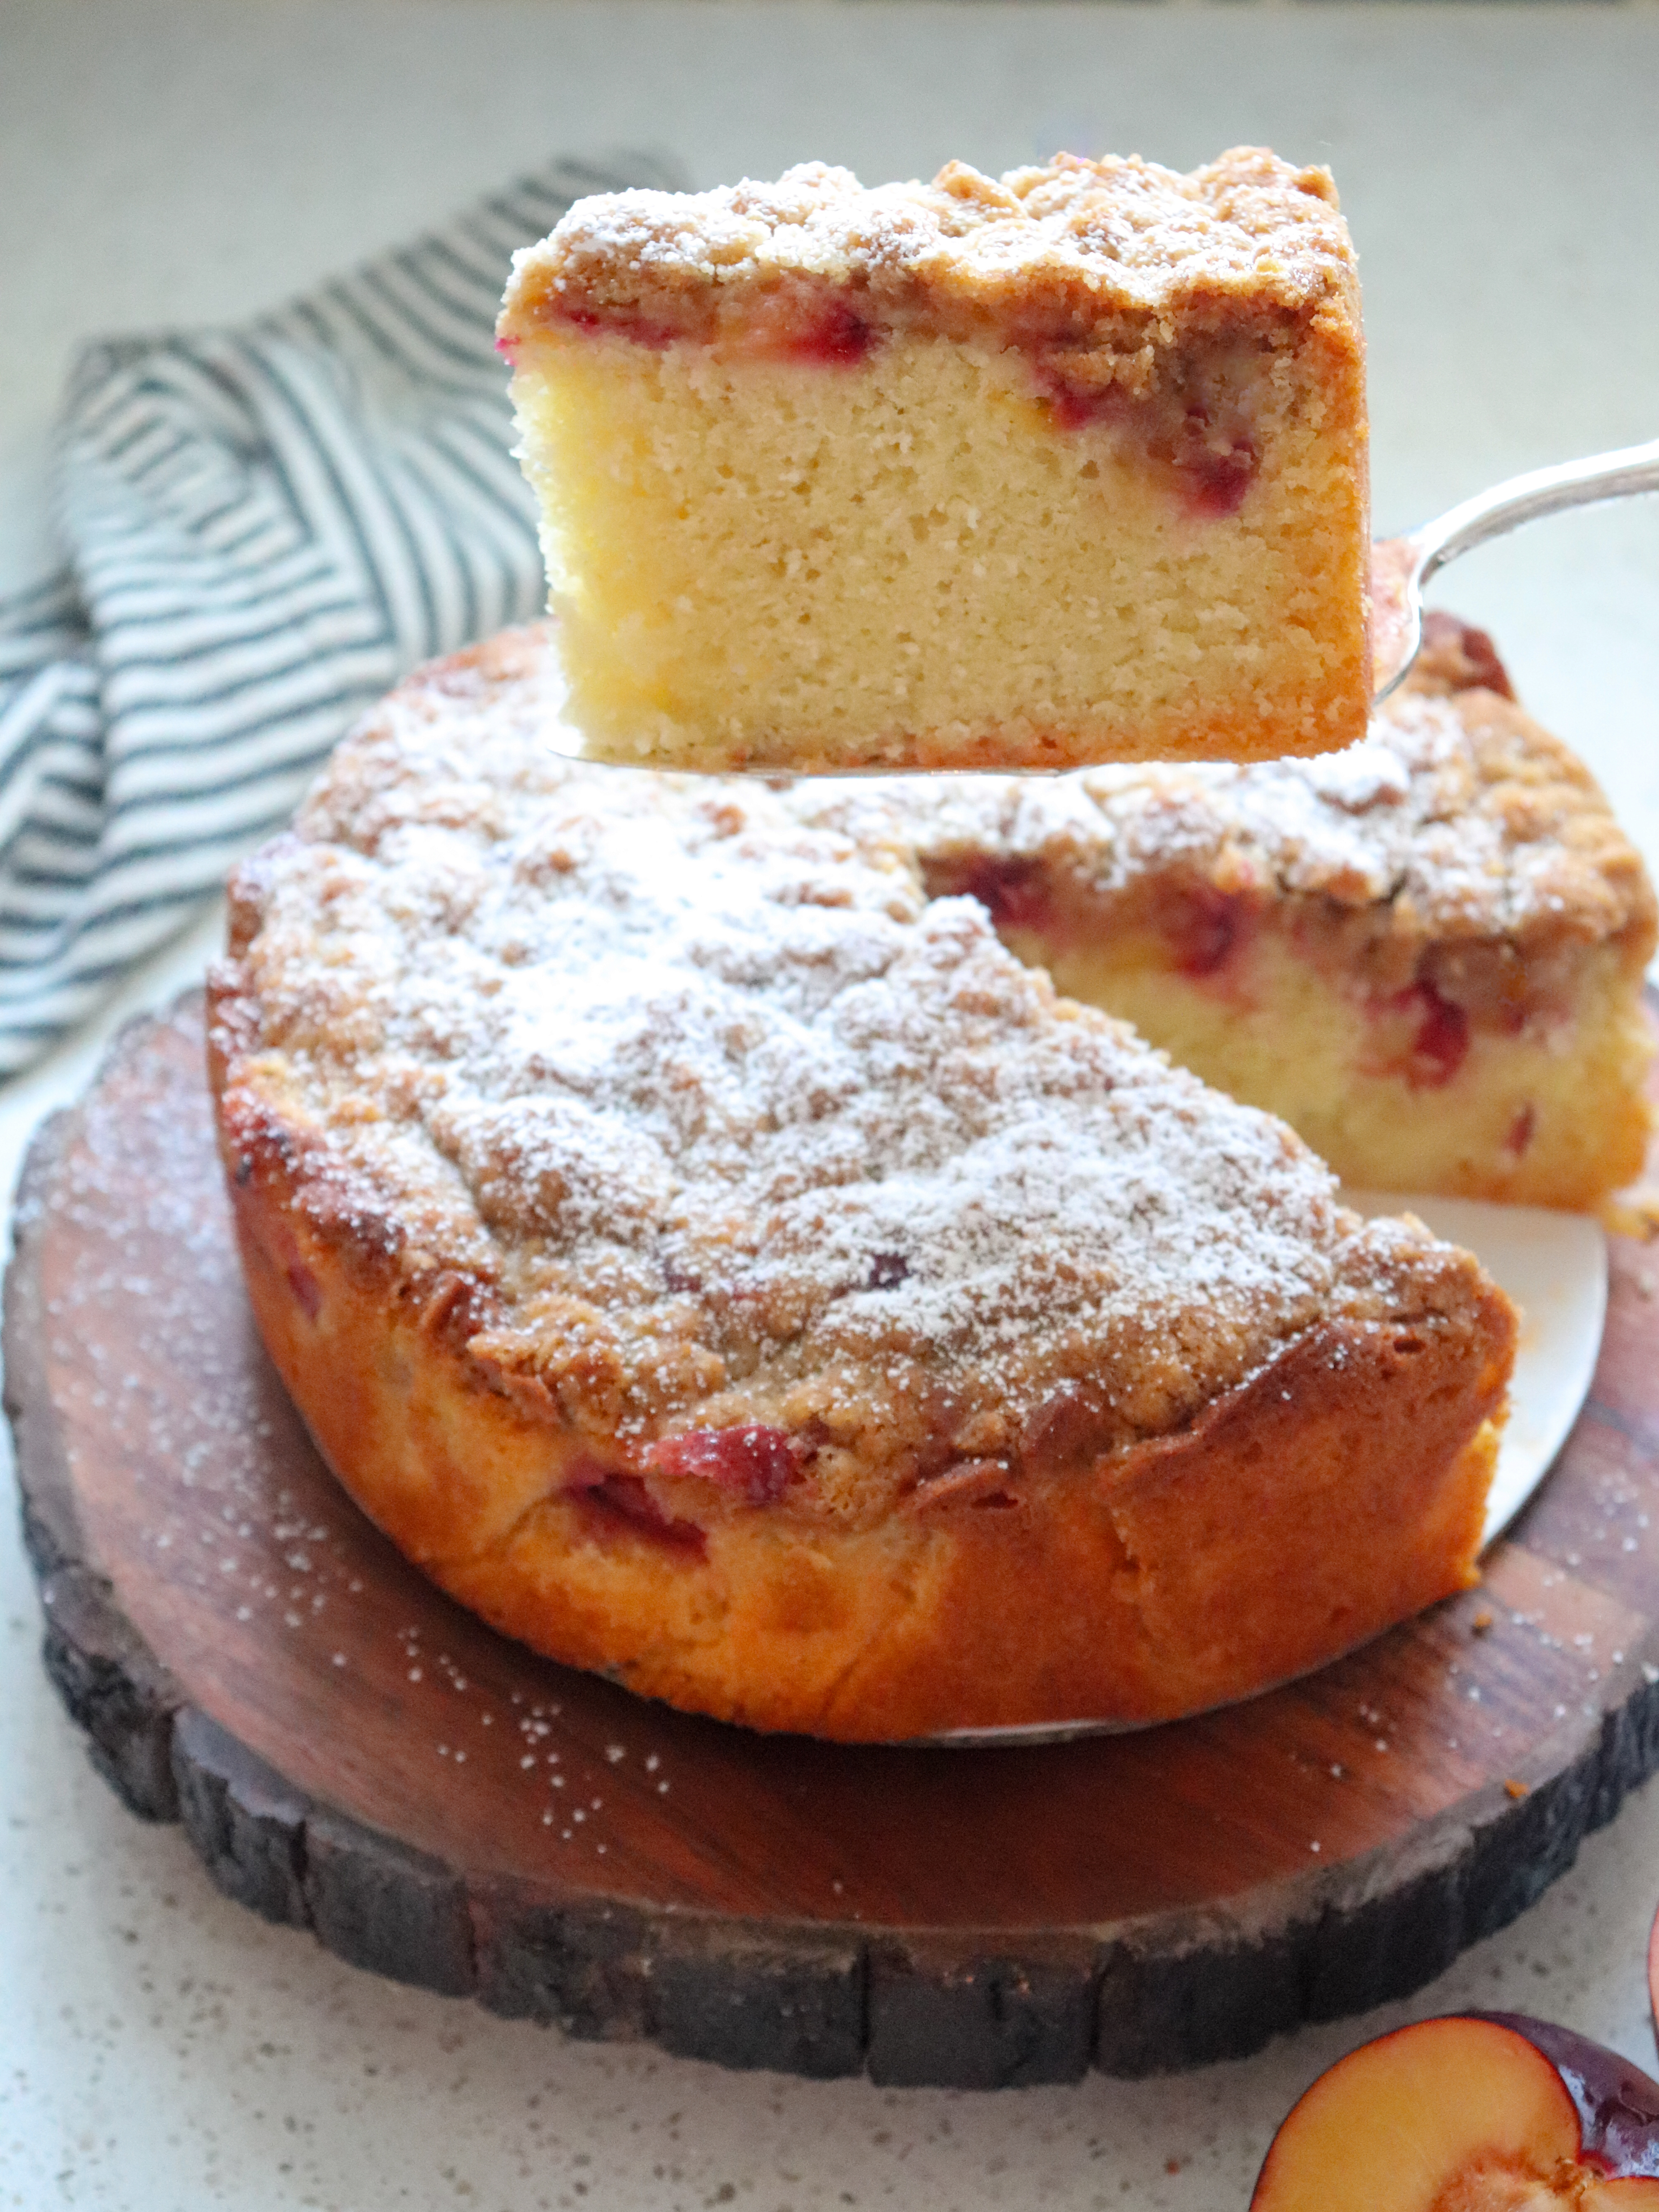
This Late Summer Plum Cake is my absolute favorite way to honor this fleeting moment. It’s not overly complicated or fussy—it’s a simple, rustic, and utterly delicious cake that lets the fruit be the star. With a tender, buttery crumb and a caramelized, slightly tart plum topping, it’s the perfect treat for a leisurely weekend breakfast, an afternoon coffee break, or a simple dessert.
The best part? It comes together with minimal effort. Let’s bake.

Why You’ll Love This Recipe
- One-Bowl Wonder: Fewer dishes mean more time to enjoy the late summer sun.
- The Perfect Balance: The cake itself is lightly sweet, which allows the tangy-sweet plums to truly shine.
- Unfussy Elegance: It looks beautiful straight out of the pan—no fancy decorating required.
- Versatile: Enjoy it for breakfast, brunch, dessert, or as a snack with tea.
Late Summer Plum Cake
Prep Time: 20 minutes | Cook Time: 40-50 minutes | Total Time: ~1 hour 10 minutes Servings: 8-10
Ingredients:
- 1½ cups (190 grams) all-purpose flour
- 1½ teaspoons baking powder
- ¼ teaspoon kosher salt
- ½ cup (113 grams) unsalted butter, softened at room temperature
- ¾ cup (150 grams) granulated sugar, plus 2 tablespoons for sprinkling
- 2 large eggs, at room temperature
- 1 teaspoon pure vanilla extract
- ½ teaspoon almond extract (optional, but highly recommended!)
- ⅓ cup (80 ml) whole milk or 2%, room temperature
- 4 medium ripe plums, halved, pitted, and cut into ½-inch slices or wedges
- crumb topping (recipe below↓)
- confectioners’ sugar, for dusting (optional)
Instructions:
- Preheat your oven to 350°F (175°C). Grease a 9-inch springform pan or cake pan. If using a regular cake pan, line the bottom with a circle of parchment paper for easy removal. Make crumb topping (recipe below↓), and set aside until ready to use.
- In a medium bowl, whisk together the flour, baking powder, and salt. Set aside.
- In a large mixing bowl (this will be your one bowl!), beat the softened butter and ¾ cup of granulated sugar together with an electric mixer on medium speed for 2-3 minutes, until the mixture is light and fluffy.
- Beat in the eggs, one at a time, ensuring each is fully incorporated before adding the next. Mix in the vanilla and almond extract. The batter may look slightly curdled at this point—that’s okay!
- With the mixer on low speed, add half of the flour mixture and mix until just combined. Pour in the milk and mix again. Finally, add the remaining flour mixture and mix until the batter is smooth and no streaks of flour remain. Be careful not to overmix.
- Pour the batter into your prepared pan and smooth the top with a spatula. Now, artfully arrange the plum slices on top of the batter. You can create concentric circles, a sunburst pattern, or just a friendly, casual jumble—it will be gorgeous no matter what!
- Sprinkle evenly with the crumb topping.
- Place the pan in the preheated oven and bake for 40-50 minutes, or until a toothpick inserted into the center of the cake (avoiding the juiciest plums) comes out clean.
- Allow the cake to cool in the pan on a wire rack for at least 30 minutes. If using a springform, carefully remove the ring. Let it cool almost completely before slicing. This patience allows the structure to set and makes for cleaner slices. Dust with powdered sugar right before serving, if desired.


Notes & Variations
- Plum Perfection: You can use any variety of plum here. Italian prune plums are classic and hold their shape beautifully, but black, red, or even sweet *pluots work wonderfully. *pluots are a hybrid fruit, a cross between a plum and an apricot, with 75%plum and 25% apricot characteristics
- Spice It Up: Add a warm spice note by mixing ½ teaspoon of cinnamon or cardamom into the dry ingredients.
- Go Nuts: Sprinkle a handful of sliced almonds over the cake along with the crumb topping for a delightful crunch.
Make it Your Own: This base cake is a fantastic canvas for other stone fruits! Try it with apricots, nectarines, or peaches.
Ingredients for Crumb Topping:
- 1 cup (120 grams) all-purpose flour: The foundation of our crumb.
- ½ cup (100 grams) granulated sugar: For sweetness and that irresistible caramelization.
- ⅓ cup (75 grams) packed brown sugar: Adds a lovely depth of flavor and a touch more moisture.
- ½ teaspoon ground cinnamon (Optional but highly recommended!): This spice is a natural partner for plums and elevates the entire crumb experience.
- ¼ teaspoon ground nutmeg (Optional): A hint of warmth that complements cinnamon beautifully.
- ½ teaspoon kosher salt: Crucial for balancing the sweetness and enhancing all those delicious flavors.
- ½ cup (113 grams) cold, unsalted butter, cut into small cubes: The key to that perfect crumbly texture. Cold butter is essential!
👩🍳 Step‑by‑Step Instructions:
- In a medium-sized bowl, add your all-purpose flour, granulated sugar, packed light brown sugar, cinnamon and nutmeg (if using), and salt. Give them a good whisk with a fork or a small whisk until everything is well combined and free of any clumps. This ensures your spices are evenly distributed.
- Add the small, cold cubes of butter to the dry ingredients. Using a pastry blender, two forks, or your fingertips, begin to “cut” the butter into the flour mixture. You’re looking for a coarse, crumbly texture that resembles small peas or coarse breadcrumbs. The key here is to work quickly so the butter stays cold, and to avoid overmixing. You want distinct pieces of butter that will create those pockets of deliciousness as they melt in the oven.
- Gently pinch a bit of the mixture between your fingers. It should hold its shape slightly, but still be crumbly.


Ready to Top! Your glorious crumb topping is now ready to be sprinkled generously over your plum cake batter before baking. Make sure to distribute it evenly, getting it right to the edges.
There you have it—a simple, stunning cake that tastes like late summer itself. It’s a sweet, tangy, tender farewell to the warmest days.
Now, I’d love to hear from you! What’s your favorite way to bake with seasonal fruit? Tell me in the comments below!
Happy Baking!