

I purchased a Proctor Silex Waffle Cone Maker for $22 dollars last summer with high hopes of making homemade cones like it was my job! C’mon, you all know what I’m talking about. You see a really cool gadget on sale, and you start to visualize your kids or grandkids sitting on the porch enjoying a delicious homemade cone overflowing with their favorite ice cream…just me? I didn’t think so.
This is not a paid advertisement for this cone maker, it was seriously an impulse purchase (remember the sale price?). Well, enough about that. Let’s talk about all the homemade ice cream I’ve been making the past couple of months. We have been in a heatwave for a better part of the summer, so ice cream seemed like a pretty obvious thing to be obsessing about. I haven’t been blogging this summer. It’s been hard for me to keep my head in the game, so to speak. Well, I’m back at it, and I pray I can keep up the momentum. Bear with me friends!
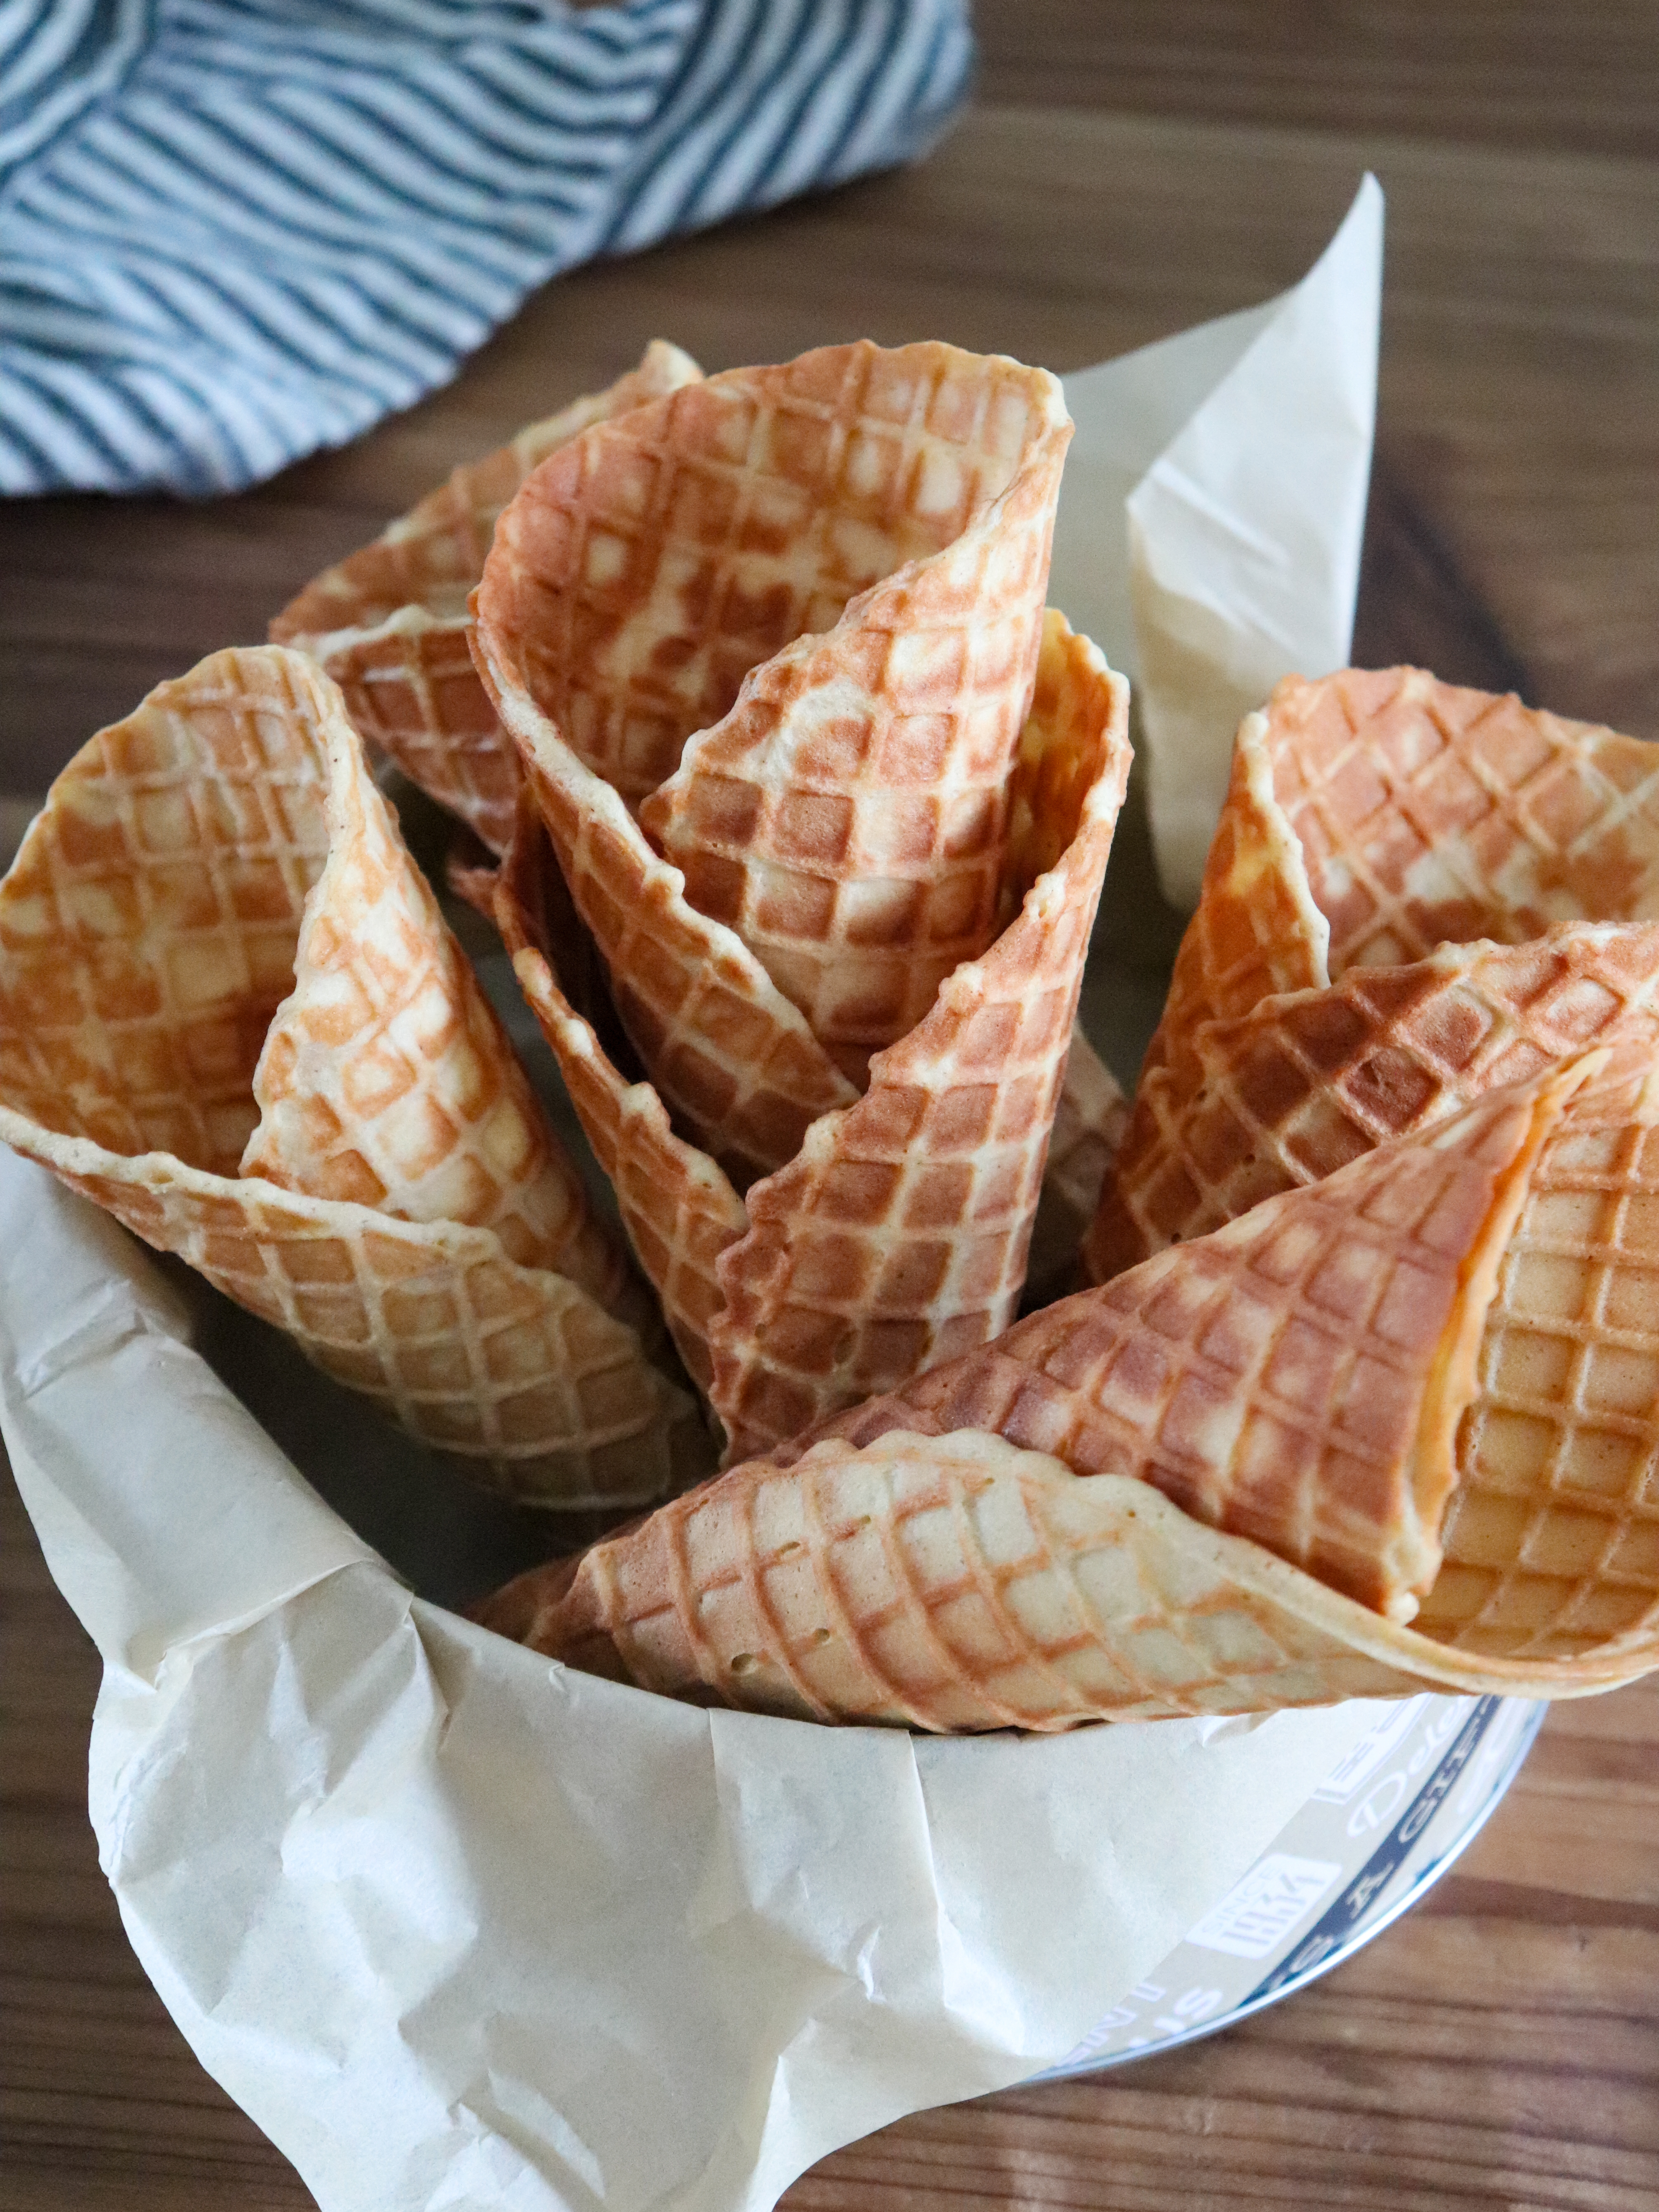
I posted an ice cream recipe yesterday that was so dreamy in these cones! I highly recommend you give it a try 😋.

Ingredients:
- ⅔ cup (80 grams) bread flour (all-purpose works well too)
- ¼ teaspoon ground cinnamon
- ¼ teaspoon kosher salt
- 2 large eggs, room temperature
- ¼ cup (50 grams) granulated sugar
- ¼ cup (50 grams) dark brown sugar, packed
- ¼ cup (60 grams) unsalted butter, melted and cooled slightly
- ¼ cup (60 ml) milk, room temperature
- 1 tablespoon pure vanilla extract
- chocolate chips to put in the bottom of the cones, (this is optional, but highly recommended)

Instructions:
Whisk the flour, cinnamon, and salt in a small bowl to combine. Set aside until ready to use. Melt butter and allow it to cool slightly while you’re measuring the other ingredients.
In a medium bowl whisk the eggs and sugars until well blended (about 1 minute). Add the flour mixture and stir until combined. Add butter, milk and extract and stir until well blended. This batter is about the consistency of crepe batter. Please let your batter rest! A short rest period lets the gluten relax after mixing everything together.
Using a ¼ measuring cup (or 4 tablespoon scoop) scoop batter in the center of your waffle cone maker. Lower lid onto the batter (do not push down). Cook for 2-3 minutes. I found 3 minutes to be perfect for my cone maker.
Lift the edge of the waffle with the tip of the cone roller. Move cone roller under the waffle to remove. You can also use a non-metal utenstil to do this. Using a paper towel, quickly shape waffle around cone roller. Hold until the cones hold their shape, then place on a parchment lined baking sheet. ∗Waffles are very hot…Please be careful!!!
If you would like to put a few chocolate chips on the bottom of your cone, now would be the time. The cone needs to be warm to melt the chocolate. Once the morsels cool you will have protection of a leaky bottom. You know what I’m talking about…when you’re not quite finished eating your cone and ice cream starts dripping out the bottom? Yup, that’s it! This will not only stop the leaks, but you will also have a yummy chocolate treat when you’re done. Winner, Winner 😋!!
Once your cones are cool, fill them with the ice cream of your choice and enjoy!
∗VERY HOT!! PLEASE BE CAREFUL!


Store any leftovers in an airtight container for up to two days.
I hope you make these crunchy and delicious treats, and if you do, please tag me on Instagram @goodeatsbymimi. I’d love to hear from you and see your photos! xo